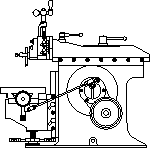
When building a new clapper box and clapper - Pete Verbree was concerned about the amount of metal around his taper pin, since his original was cracked. He asked me to measure my machines to see how much metal is there. At the time I had three shapers. My 9” Lewis had 0.15” of metal in front of the taper pin, my 7” Rhodes had 0.185” and my 7” Logan had 0.13”. All were larger than his, which had only 0.1”.

Clapper Box and
Clapper
Photo by Pete Verbree
It is best to ream that taper hole so that, when the taper pin is installed, it seats against the two support sides of the clapper box holder and it is a free fit on the clapper itself. This is done by reaming the whole assembly together, then removing the clapper and taking an extra light turn of the taper reamer in its hole. My Lewis shaper’s taper pin falls out on occasion so I rap it into the hole with a leather hammer. Perhaps the previous owner of Pete’s shaper put his tapered pin in too tightly and cracked the clapper box.
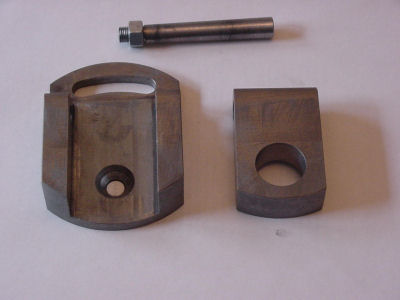
Clapper Parts
Photo by Pete Verbree
The bottom line is that Pete remanufactured the clapper for his Atlas 7B. Here is his story.
“I finally finished the new clapper for my Atlas today, so I thought that I would send you some pictures. I beefed up the box by adding to the area around the taper pin, bringing it to approximately .187".
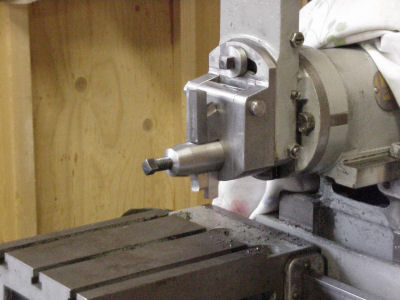
Clapper Installed
Photo by Pete Verbree
I got carried away fitting the clapper to the box, I scrapped them to a clearance of approximately 0.001". I realize that this is not necessary but I need the practice for when I fix the cross slide.”
Thanks Pete for your input and inspiration.
Keep sending me email with questions and interesting shaper stories.
My email address is KayPatFisher@gmail.com.