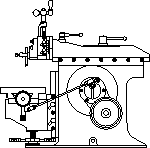

My first shaper was a Lewis. I obtained it by trading a mini lathe with fellow NEMES member Howard Evers. Howard had cleaned it up and aligned everything, so there was nothing for me to do but use it. Lewis shapers are not hard to find but it is hard to find two that look alike. They were sold as plans and casting kits, and many were made by students in trade schools.

Lewis Side View
Photo by Mike Unger
The Lewis is billed as a 10 inch shaper but you would be hard pressed to actually cut a 10 inch piece with it; closer to 9 inches is all mine can handle. None the less, I was in the shop one night when I had 3 shapers. I was building tool holders for a lathe and thought it would be cool to have all three shapers running at the same time. After futzing with the 7 inch Logan and 7 inch Rhodes for a few minutes I gave up on the idea because the vice of the Lewis held twice as many tool holders as the Logan or Rhodes.
This month’s shaper acquisition and refinish story comes to us from Mike Unger in Gloucester Point Virginia. After his refinishing job I can say that Mike’s shaper puts mine to shame.
“I got into machining so I could fabricate parts for my hobby of racing vintage sports cars.

Mikes Hobby
Photo by Ken Moore
My enjoyment and interest in machining has grown to the point that it is now a second hobby. I bought my Lewis at an estate auction for $95.00. It's a pretty funny story now that I think about it.
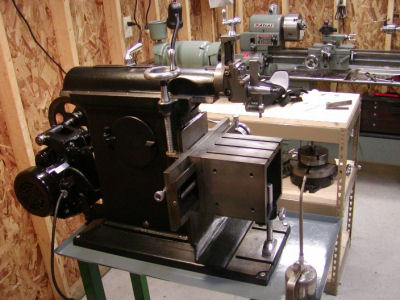
Lewis Side View 2
Photo by Mike Unger
I was always intrigued by shapers and when I saw this one at the auction I thought it looked great, needed a home and I felt I had to bid on it, if it wasn't too much. I really hadn't planned on any big purchases. I was surprised to get it for less than $100.
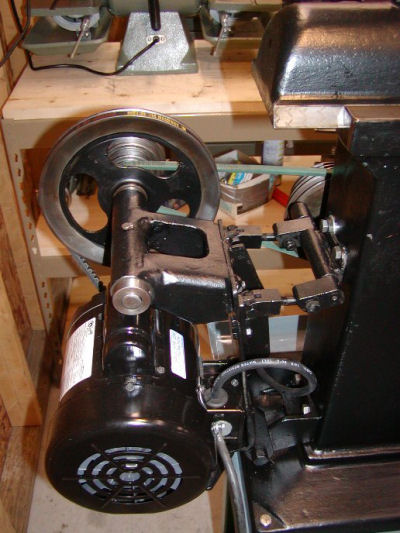
Lewis Motor Mount
Photo by Mike Unger
I had to call my significant other to rescue me with some tools and a hand truck so we could take it apart into small enough pieces to lift into the back of my truck.
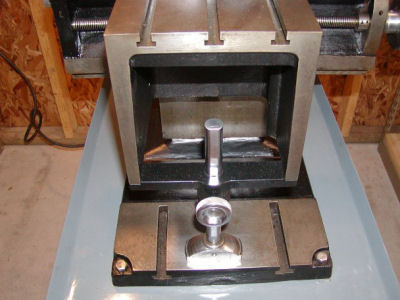
Lewis Support Bracket
Photo by Mike Unger
It was bolted to the same welded 2-inch square tubing stand that it is mounted on today. Luckily, Ellen was home and was willing to come to the rescue! I looked around the auction and found the biggest guy who wasn't bidding on anything to help me lift the pieces into the truck. Once home I was able to lift the shaper from my truck with my engine lift.
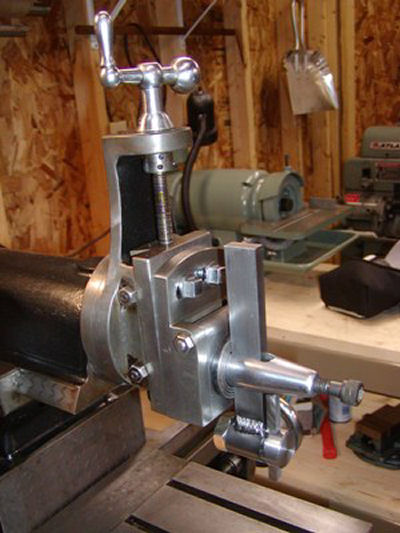
Lewis Tool Post
Photo by Mike Unger
It was originally black and most of the non-painted surfaces were brown. Once home, I did some internet searching and learned I had purchased a Lewis shaper. I also learned that they were assembled from casting kits so fit and finish was function of the builders’ skill or care. A couple of evenings with some kerosene, a paint brush and some fine Scotch-Brite™ and I was delighted to find the shaper in excellent condition. The brown was mostly a layer of very old dried oil that protected the surfaces of the machine.
I also discovered that the builder was a skilled machinist. The ways and flat surfaces were all hand scraped and there were detailed features like: multiple T slots and mounting holes in the table, beautifully machined cast-iron pulleys, a cam locking backpack style adjustable motor mount (no motor), a table support, a locking knob for the vertical gib, a locking screw for the clapper, chromed fittings, oil cups, and oiling grooves machined into every possible bearing surface.
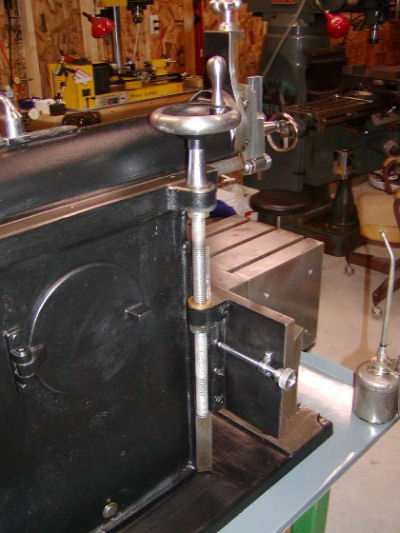
Lewis Table Lock
Photo by Mike Unger
It must have been someone’s pride and joy. Something about the care that went into building the machine made it feel more special to me than a commercially made tool.
Once cleaned, I oiled all the ways and bushings and painted the black surfaces with PPG black epoxy. This paint is very durable and has a semi gloss look which I prefer for this machine as it looks more "vintage" to me than a high gloss. I added a ˝ horse motor and wired it so the forward stroke was "over the top", something I learned from Kay’s shaper column! I also added a chip and drip pan that fits between the shaper and the stand. I made an adjustable tool holder based on Art Voltz’s excellent plans and made my first chips last weekend.
[The tool holder drawings made by Art Volz are posted on the web at the Yahoo Metal_Shapers group:
http://groups.yahoo.com/group/Metal_Shapers
The drawings are in the Files section (membership required) as holder1.jpg
and holder2.jpg]
This little shaper will bring me many years of enjoyment. I somehow doubt the original builder is still around but I hope he's smiling somewhere knowing that his hard work is appreciated and preserved.”
Thanks Mike for that great story about one of my favorite shapers.
Keep sending me email with questions and interesting shaper stories.
My email address is KayPatFisher@gmail.com.